Localisation is a process of customizing our project to respond to different culture and locale.
First of all there is a great Visual Studio tool called ResXManager. This tool gives you language sheet (similar to Excel) where every column represent one language. We will use this tool to manage our resource files.
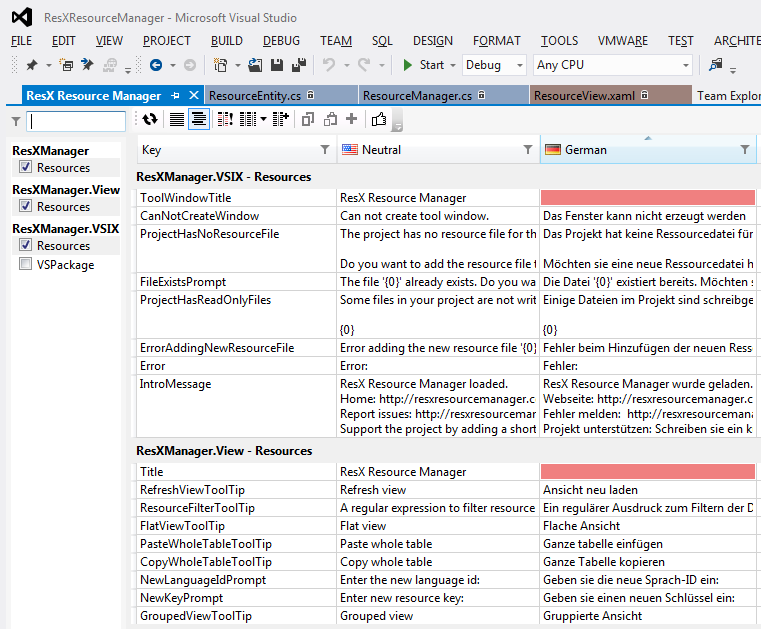 ResXManager for Visual Studio
Routes
First we need to see how we like to manage our language changes. I like to use Microsoft way of doing this, they specify language code after the initial URL i.e.: microsoft.com/en-US for the USA version or microsoft.com/de-DE for the German version of the site.
In order our project to work with this technique we need to modify our routes in RouteConfig.cs to accept language code before the controller name.
This is the default RouteConfig with default routes mapped, we need to change this to look like the following:
We define another route names Localisation where we set our url to start with language code. In constraints we can define which language codes we accept.
Then we need to define action filters that is going to control resources invokation.
First create folder ActionFilters in base of the project, and add new class named LocalisationAttribute inherited from ActionFilterAttribute.

And the LocalisationAttribute class:
Now we have defined our action filter and specified the languages we accept. Next we need to set this attribute to the controllers we want to use. We have two ways of doing this:
- We can create BaseController class and set the localisation attribute, and in every other controller we will inherit from BaseController instead of Controller.
- We will add localisation attribute to every controller we want to use manually.
Resources
Our next step is to define resources specific to culture and locale.
 Folder structure
Create folder Resources in base of the project and add new Resource File named Resources.resx
Right-click on Resources.resx file and click Open with ResX Manager, and add new language.
ResX Manager UI
You can add as many languages as you want, for this example we will add two languages en-US and mk-MK, and we will define some keys.
 Keys
Keys
Usage
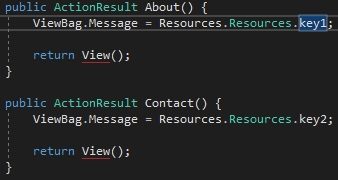 Usage of Resources
In order to test if everything works properly we will use HomeController with changed ViewBag.Message, to be one of our defined keys.
We can run this example to see the resulting views.
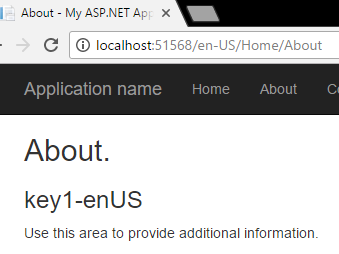 en-US
en-US
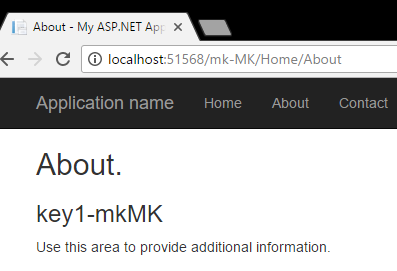 mk-MK
mk-MK
Razor
We can also use Resources in razor pages in similar fashion. First we need to
open Resources.resx in ResX Manager and set them as public like this:
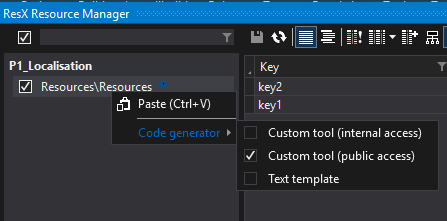 Setting Resources public
And in our view file, for example Contact.cshtml, we add following lines:
Now we have localized project.
GitHub repository: P1: Localisation